
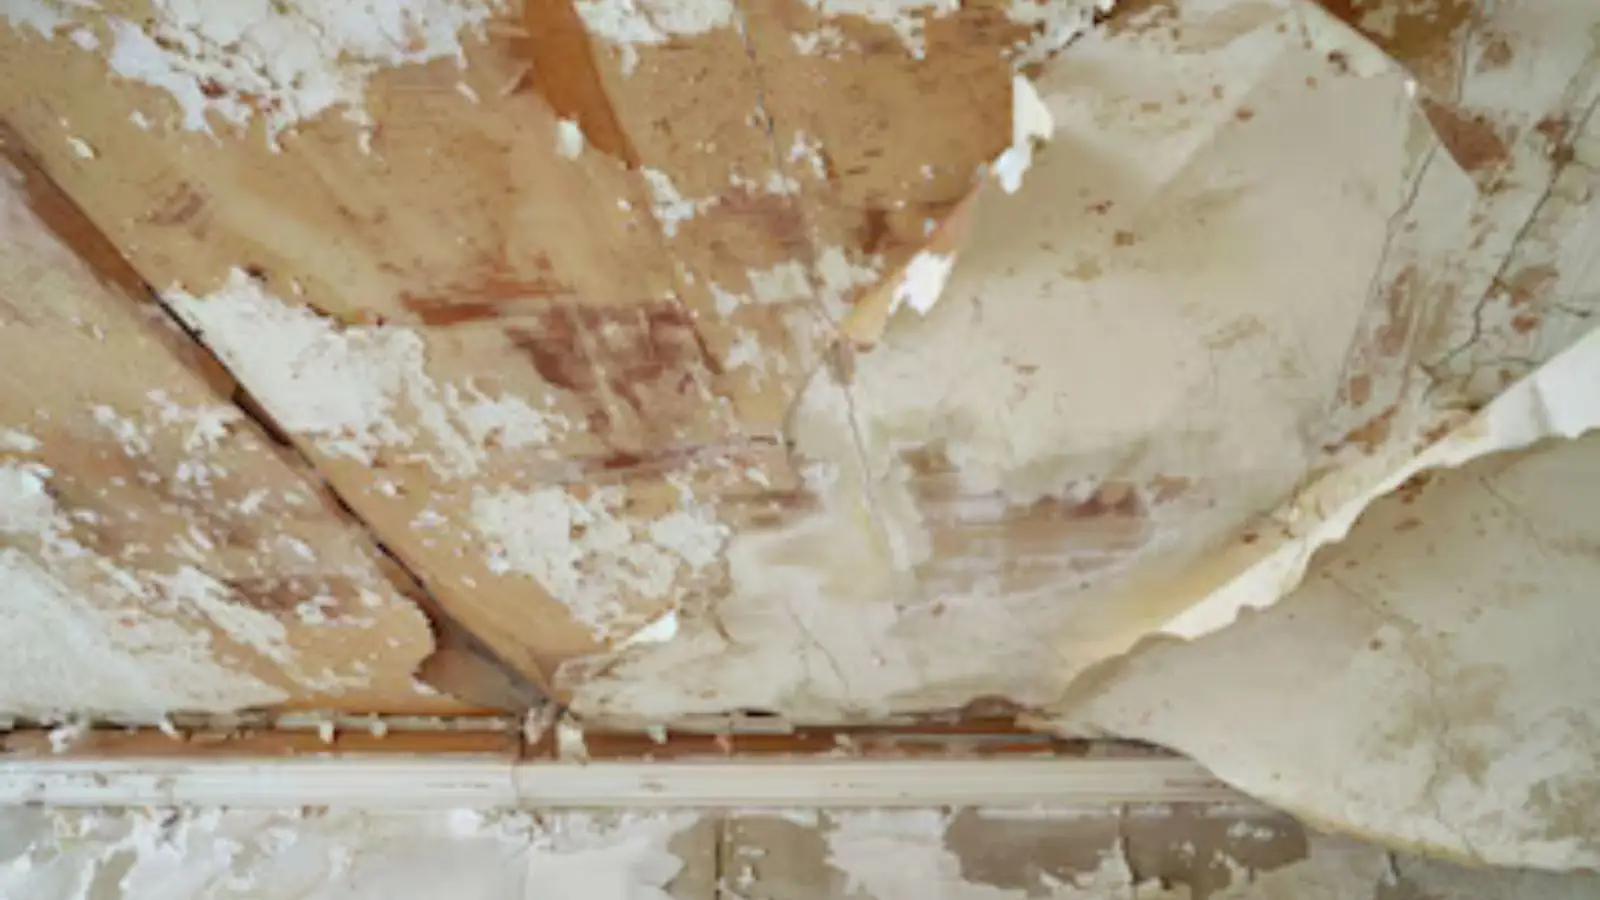
Knowing how to repair a ceiling from water damage in Mission Hills, CA starts with a plain fact. The stain you can see is the least important part of the damage. Insulation above it may be soaked, the drywall may be soft and the source may still be running.
This guide walks through the repair in the order a professional would follow, so you can judge which parts are a weekend project and which are not. It assumes the leak is already stopped. If water is still dripping, deal with that first and read the emergency water removal page.
Step one: confirm the leak is stopped and the ceiling is dry
A ceiling that looks dry can still be damp above. Press gently around the stain, look for bubbling and check the area above if there is an attic or crawl space. A moisture meter gives a reading, and readings in the affected area should match an unaffected part of the same ceiling.
If the ceiling is still wet, repair has to wait. Painting wet drywall traps moisture and produces a stain that returns within weeks. Give it time with air movement and a dehumidifier, or have it dried professionally.
Step two: decide how much to cut out
| What you see | Likely condition | Repair path |
|---|---|---|
| Flat brown stain, solid when pressed | Surface staining, dry board | Prime with stain blocker and repaint |
| Bubbled or peeling paint | Moisture in the paper facing | Scrape, dry, skim coat, prime and paint |
| Soft or sagging area | Saturated drywall | Cut out back to solid board and replace |
| Cracked texture with a damp smell | Long-term moisture | Remove, dry the cavity and check for mold |
| Collapsed section | Failed drywall | Safety first, remove debris, replace board and insulation |
Cut out damaged board in a clean rectangle, extending to the nearest joists so new board has something to attach to. Replace wet insulation, since it holds moisture and loses its value when compressed. If you see dark growth, stop and read the mold remediation page before continuing.
Asbestos check for older ceilings
Ceiling texture and joint compound in older homes may contain asbestos. Have a sample tested by a qualified person before sanding, scraping or cutting. Do not disturb it until you know.
Step three: patch, tape, texture and prime
Hang new drywall, screw it to the framing and tape the seams with joint compound. Apply thin coats and sand between them, and wipe away dust before texture or paint. Ceiling work is awkward overhead, so a helper and good light make the job easier.
Matching texture takes practice. Spray-on texture, knockdown and orange peel each have their own technique, and a patch that does not blend shows under raking light. Test on scrap board first, and consider repainting the whole ceiling plane for a uniform look.
Not sure how far the damage goes?
Call the line. A technician can explain how moisture is mapped before anything is cut.
When this is a professional job
Large sagging areas, ceilings above living space with soaked insulation, electrical fixtures in the wet area and anything involving old texture are better left to professionals. A crew can dry the structure, cut out safely and rebuild with matched texture. The water damage repair page covers that work.
If electrical fixtures are in the wet area, treat it as a safety hazard. Turn off the breaker from a dry position, and if you are unsure, call the utility or 911. Never touch a wet fixture.
Tools and materials for a small ceiling patch
- Moisture meter or a reliable reading from a technician.
- Utility knife, drywall saw and a stud finder.
- Replacement drywall of the same thickness as the ceiling board.
- Joint compound, mesh or paper tape and a taping knife.
- Stain-blocking primer and ceiling paint.
- Dust mask, eye protection and drop cloths.
Ceiling work is dusty, and joint compound sands into a fine powder that gets everywhere. Seal doorways with plastic and cover floors before you start. A shop vacuum with a fine filter helps more than a broom.
Mistakes that show up months later
The most common is patching over damp board. It looks fine for a month and then a ring appears around the patch. Another is skipping primer, so the old stain bleeds through new paint.
A third is skipping the insulation check. Wet insulation above a new patch stays wet and slowly damages the new board from above. If you open a ceiling, look at what is behind it and replace anything that is wet or compressed.
Common mistakes when patching a ceiling
The most common mistake is painting over a stain before the ceiling is fully dry. The paint traps moisture and the stain returns within weeks. Another is skipping a stain-blocking primer, which lets brown rings bleed through the new finish.
A third is repairing only the visible patch when the insulation above is still wet. Wet insulation keeps the framing damp and can restart the problem, so check it before closing anything up.
Work from the top down. Fix the leak, dry the cavity, replace wet insulation, patch or replace the board, tape and finish the seams, prime with a stain blocker and only then paint. Skipping an early step usually costs more later than doing it right once.
Plan for the work to take a few days with drying and finishing time, even if the repair itself looks small. Rushing the paint is the single most common reason a repair fails and the stain returns.
The industry reference for water loss work is ANSI/IICRC S500, the Standard for Professional Water Damage Restoration. It describes water categories, drying goals and how to document readings. Citing it here is not a claim about any certificate. It simply gives you a published benchmark to ask a company about.
Local note: repairs and permits in Mission Hills
Mission Hills is part of the City of Los Angeles, so permit questions for larger repairs go to the Los Angeles Department of Building and Safety. Permit rules vary by the kind of work, and a simple patch is different from replacing wiring or structural members.
If a roof leak caused the damage, a roofer repairs the roof and the ceiling repair follows. Mission Hills sits at an elevation near 913 feet in the northern San Fernando Valley, and its older homes may have patched roofs that deserve a check before winter rain.
Source type: City department guidance, encyclopedic neighborhood summary
Ceiling repair questions for Mission Hills homes
Can I repaint a ceiling stain in Mission Hills right away?
Only after the source is fixed and the ceiling is dry. Use a stain-blocking primer, or the stain will return through the paint.
Should I cut a hole to let a sagging ceiling drain?
Water in a sagging ceiling can be heavy and fall suddenly. Stand clear, place a bucket and call for help if you are unsure.
Does my insurance cover ceiling repair after a leak?
Sudden and accidental leaks are often covered while slow leaks are often not. Ask your insurer and keep photos.
If your home is nearby, the Sylmar page and the Granada Hills page describe the local conditions that cause ceiling leaks.